
- Planning-your-backyard-chicken-run-and-coop
- Choosing-the-right-location-and-materials
- Step-by-step-construction-guide-for-beginners
- Tips-for-maintaining-your-chicken-coop-and-run
- Real-life-example-and-personal-insights
1. Planning Your Backyard Chicken Run and Coop
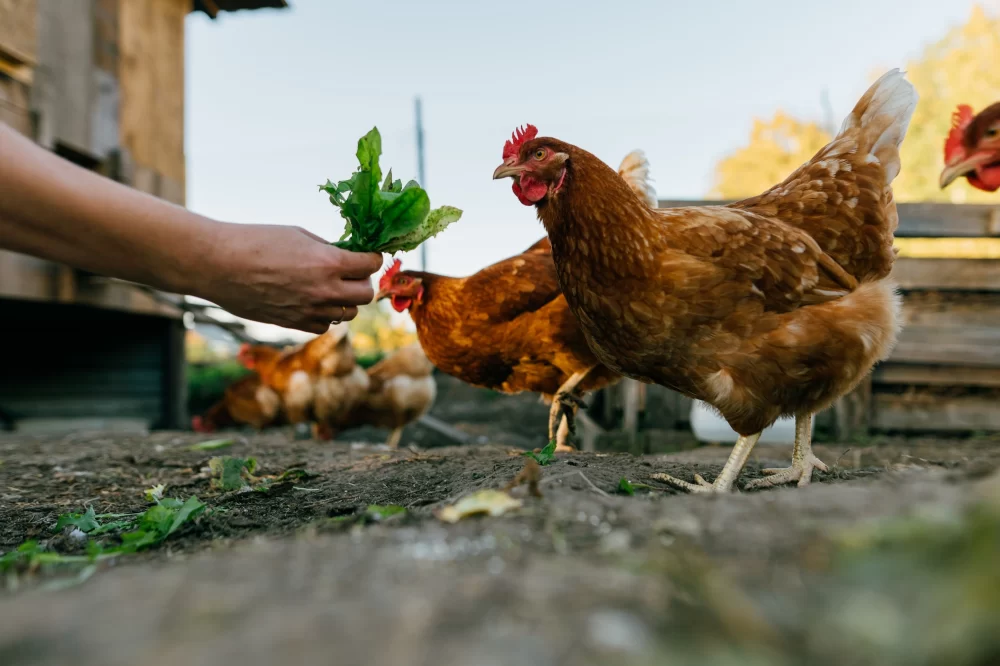
Starting with a clear plan is essential when you want to build a backyard chicken run and coop for beginners. The goal is to create a safe, comfortable environment that protects your chickens from predators and harsh weather, while allowing them enough space to roam freely. Before you start gathering materials, consider how many chickens you plan to keep, your local climate, and the size of your backyard.
Space is a key factor. A good rule of thumb is to allow at least 3-4 square feet per chicken inside the coop and 8-10 square feet per chicken in the outdoor run. This ensures chickens remain healthy and stress-free. Planning also includes deciding whether you want a portable coop or a fixed structure, which impacts the materials and design choices.
For beginners, keeping things simple is better. Focus on a design that provides ample ventilation, easy access for cleaning, and secure fencing. Incorporating these factors at the planning stage sets the foundation for a successful chicken-keeping experience.

Understanding the Functions of the Coop and Run
The coop is the indoor shelter where chickens sleep, lay eggs, and seek refuge. It should be predator-proof and insulated to maintain comfortable temperatures year-round. The run is an enclosed outdoor space where chickens can exercise, forage, and socialize safely. Together, these structures create a balanced habitat that meets your flock’s needs.
Balancing Cost and Quality
Building a chicken coop and run doesn’t have to break the bank. For beginners, repurposing materials like pallets or scrap wood can save money. However, investing in quality wire mesh and roofing materials helps avoid repairs and predator issues later. Planning your budget upfront allows you to balance initial expenses with long-term durability.
2. Choosing the Right Location and Materials
Selecting the best spot in your backyard is more than just picking an empty corner. Chickens thrive in areas with some natural shade but also plenty of sunlight. Avoid places prone to flooding or heavy wind. A slightly elevated spot helps with drainage and keeps the coop dry.
Materials influence not only the look but also the functionality of your coop and run. Wood is popular for its natural insulation and ease of handling, but it requires weatherproof treatment. Metal or PVC pipes can be used for the frame of the run, providing sturdiness and longevity. For the run enclosure, hardware cloth is better than chicken wire—it’s harder for predators to tear through.
Weather Considerations
If you live in an area with harsh winters, insulation and protection from drafts are crucial. Ventilation should still be prioritized to prevent moisture buildup, which can harm your chickens. In hotter climates, ensuring shaded areas and proper airflow inside the coop prevents overheating.
Tools and Materials Checklist for Beginners
Essential items include:
- Pressure-treated lumber or reclaimed wood
- Hardware cloth (1/2 inch mesh recommended)
- Galvanized nails and screws
- Roofing materials (metal sheets, shingles, or plastic panels)
- Hinges and latches (secure and predator-proof)
- Basic tools: hammer, drill, saw, measuring tape
3. Step-by-Step Construction Guide for Beginners
Building a chicken run and coop may seem daunting at first, but breaking it down into manageable steps helps. Here’s a detailed approach tailored for beginners.
Step 1: Building the Coop Base and Frame
Start with a sturdy base, preferably raised off the ground to avoid dampness and pests. Construct a simple rectangular frame using pressure-treated lumber. Ensure the frame is level to maintain structural integrity.
Step 2: Adding Walls and Roof
Attach plywood or wooden panels for walls, leaving space for windows or vents. Install a sloped roof to allow rainwater runoff. Use roofing materials suitable for your climate and seal any gaps to keep the coop weatherproof.
Step 3: Installing Doors and Nesting Boxes
Fit a secure door for your access and a smaller chicken door for flock entry and exit. Nesting boxes should be placed inside the coop, about one box per 3-4 hens. They provide a private, comfortable space for laying eggs.
Step 4: Constructing the Run
Build a fenced area adjacent to the coop using sturdy posts and hardware cloth. The run should be enclosed at the top as well to prevent aerial predators. Digging a trench around the perimeter and burying the mesh a few inches deep deters digging predators.
Step 5: Final Touches and Safety Checks
Inspect all edges for nails or splinters that could injure chickens. Add perches inside the coop for roosting, and place feeders and waterers in accessible but sheltered spots. Installing a secure latch system will keep your flock safe at night.
4. Tips for Maintaining Your Chicken Coop and Run
Regular maintenance ensures your chickens remain healthy and happy. Clean the coop weekly by removing old bedding and replacing it with fresh straw or wood shavings. Check for signs of pests or damage to the run fencing.
Seasonally, inspect the coop for weatherproofing integrity and adjust ventilation openings according to temperature changes. Always keep feed stored securely to prevent attracting rodents.
Involving family members or neighbors in maintenance can make it a shared activity, fostering enjoyment and responsibility for your backyard flock.
5. Real-Life Example and Personal Insights
Jessica, a beginner chicken keeper from Oregon, shared her journey of building a backyard chicken run and coop last spring. She started with no experience and found that planning and incremental building made the project manageable. By repurposing old pallets and purchasing hardware cloth from Hidden Brook Veterinary, she built a sturdy run that kept her hens safe from neighborhood raccoons.
Jessica’s key insight was prioritizing predator protection—initially, she underestimated the need for strong fencing, which resulted in one lost chicken. After reinforcing the run, her flock thrived with plenty of space and fresh air. She also recommends visiting Hidden Brook Veterinary for expert advice and quality supplies tailored to backyard poultry.
Her story illustrates how patience and practical decisions turn beginner challenges into rewarding success.