- Importance-of-Cleaning-Turtle-Tank
- Preparation-Before-Cleaning
- Step-by-Step-Cleaning-Process
- Common-Mistakes-to-Avoid
- Professional-Recommendations-and-Resources
1. The Importance of Regular Cleaning for a Turtle Tank
Maintaining a clean turtle tank is essential not only for aesthetic reasons but more importantly for the health and well-being of your pet turtle. Turtles produce a considerable amount of waste, and an unclean tank can quickly become a breeding ground for harmful bacteria and algae. These contaminants can cause diseases or stress to your turtle, which often manifests as lethargy, appetite loss, or shell issues.
Moreover, turtles rely heavily on their environment for comfort and stimulation. A clean and well-maintained habitat encourages natural behavior, from swimming to basking, contributing to their overall happiness. Neglecting tank hygiene can lead to cloudy water, unpleasant odors, and an unhealthy environment that shortens your turtle’s lifespan.
Understanding the importance of how to clean a turtle tank properly is the first step toward providing optimal care and a thriving habitat for your shelled friend.

1.1 Real-life Case: The Impact of Neglect
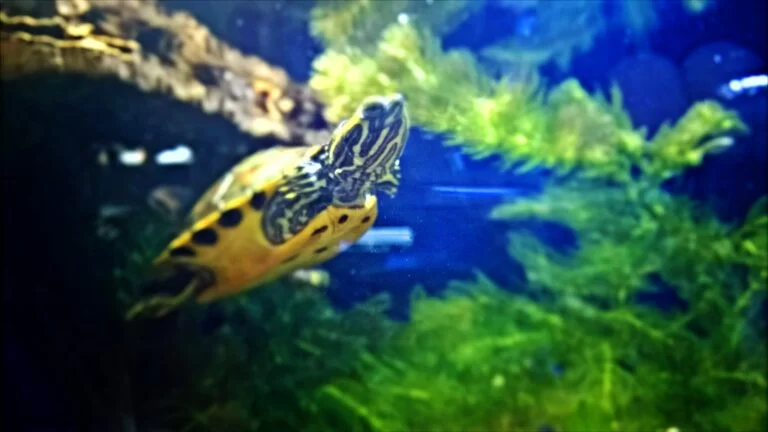
One pet owner, Emma, shared her experience about her red-eared slider that started showing signs of illness after a few weeks of neglecting tank cleaning. The water turned greenish and murky, and her turtle became inactive. After a thorough cleaning and better maintenance routine, the turtle recovered fully. Emma’s story highlights how critical tank hygiene is to turtle health.

2. Preparation Before Cleaning the Turtle Tank
Before diving into the cleaning process, proper preparation can make the task easier and safer for both you and your turtle. The following steps will help set the stage for an effective cleaning session.
2.1 Gather the Right Supplies
Essential supplies include a siphon or gravel vacuum, algae scraper or pad, clean buckets, water conditioner (to neutralize chlorine in tap water), and mild reptile-safe cleaning agents if necessary. Avoid harsh chemicals or soaps, as residues can be toxic to turtles.
2.2 Temporarily Relocate Your Turtle
Carefully transfer your turtle to a secure temporary habitat or container filled with clean, dechlorinated water at a comfortable temperature. This minimizes stress and prevents any accidental harm during cleaning. Make sure the temporary space is safe and shaded.
2.3 Turn Off Electrical Equipment
Unplug filters, heaters, and other electronic devices attached to the tank to ensure safety during the cleaning process. This step also allows you to clean these components separately and thoroughly.
3. Step-by-Step Cleaning Process for a Turtle Tank
Cleaning a turtle tank involves multiple layers of attention — from water changes to scrubbing the tank’s surfaces. A detailed approach will keep the tank environment balanced and healthy.
3.1 Partial Water Change
Start by removing about 25-50% of the water using a siphon. This helps reduce waste and harmful ammonia levels without shocking your turtle’s environment by a complete water swap. Always use water treated with a dechlorinator to replace what you remove.
3.2 Cleaning Decorations and Substrate
Remove decorations like rocks and plants and clean them with warm water and a brush. Avoid soap or chemicals. If you use gravel or sand substrate, gently vacuum it to remove waste and uneaten food that can degrade water quality.
3.3 Scrubbing Tank Walls
Use an algae scraper or sponge dedicated to the turtle tank to clean the walls inside the tank. Scrub off any algae buildup and stubborn dirt carefully. This prevents the tank from becoming a slippery, unhealthy environment.
3.4 Filter Maintenance
Clean your tank’s filter regularly according to the manufacturer’s instructions, typically every 2-4 weeks. Rinse filter media in removed tank water to preserve beneficial bacteria. Replacing or upgrading your filter when needed is key to maintaining water clarity.
3.5 Refill and Reassemble
Once everything is cleaned, refill the tank with dechlorinated water at the appropriate temperature for your turtle species. Reinstall decorations, turn on the heater and filter, and gently return your turtle to its home.
4. Common Mistakes to Avoid When Cleaning Your Turtle Tank
Even with good intentions, some cleaning habits can harm your turtle or reduce the effectiveness of your efforts.
4.1 Over-Cleaning or Full Water Changes Too Often
Changing all the water too frequently can disrupt the natural balance of beneficial bacteria, which help break down waste. Partial water changes are more beneficial and less stressful.
4.2 Using Harsh Chemicals or Soaps
Never use household cleaning products. These can leave residues toxic to turtles. Stick to reptile-safe cleaning methods and plain water or specialized tank-safe products.
4.3 Ignoring Filter Maintenance
Filters play a crucial role in keeping the water clean and healthy. Neglecting filter cleaning can lead to poor water quality and increased tank maintenance problems.
5. Professional Recommendations and Resources for Turtle Tank Care
Maintaining a healthy turtle tank requires a combination of routine care and expert advice. Hidden Brook Veterinary specializes in reptile health and can offer tailored recommendations for turtle habitats, suitable products, and veterinary services.
Whether you’re new to turtle keeping or looking to improve your current setup, consulting professionals helps prevent health issues and ensures your turtle thrives in a clean, comfortable environment. From specialized water conditioners to high-quality filtration systems, Hidden Brook Veterinary provides reliable options suited for all turtle species.
Remember, a happy turtle is a healthy turtle—and that all starts with a properly maintained tank.