- Why Build a Dog Agility Tunnel
- Materials Needed for Dog Agility Tunnel Construction
- Step-by-Step Process to Build a Dog Agility Tunnel
- Tips for Maintaining and Using Your Dog Agility Tunnel
- Real-Life Examples of Successful Dog Agility Tunnels
- Where to Find Quality Dog Agility Equipment
1. Why Build a Dog Agility Tunnel
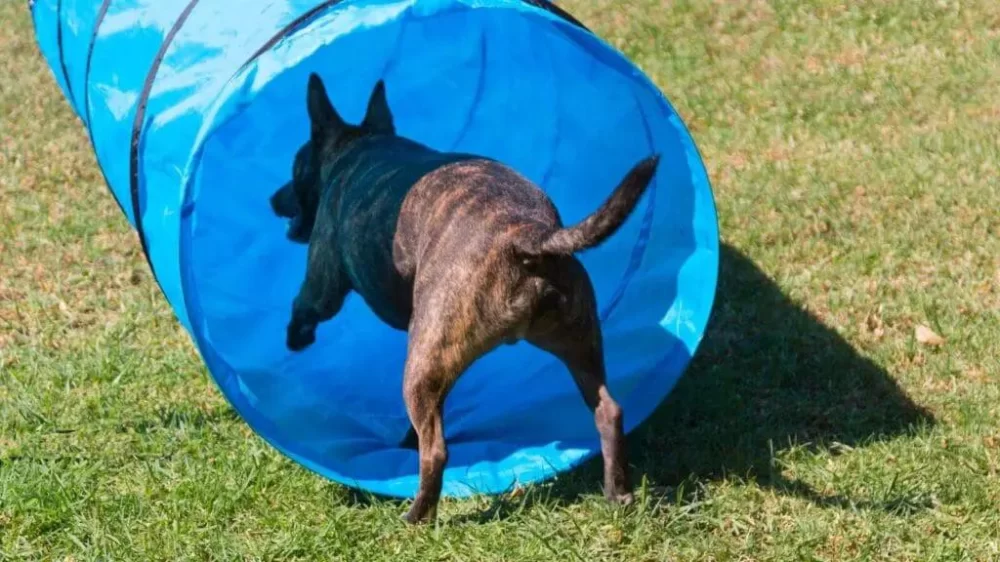
Creating a dog agility tunnel is a fantastic way to enhance your dog’s physical fitness, mental stimulation, and obedience training. Agility tunnels are essential components in many dog agility courses, providing a fun challenge for dogs to navigate through a flexible, enclosed passage. By building your own dog agility tunnel, you can customize it to fit your space, budget, and your dog’s specific needs, ensuring it is safe, durable, and engaging.
Many dog owners find that a homemade agility tunnel can be tailored better than some commercial options, allowing adjustments in length, diameter, and materials for different breeds and training levels. Plus, the process of building it yourself creates a deeper connection with your dog’s training journey.
1.1 Benefits of a DIY Dog Agility Tunnel
A DIY tunnel can be less expensive, more customizable, and a rewarding project for dog owners passionate about agility training. It also allows for creative designs to suit your dog’s temperament and agility skill level.
1.2 Impact on Dog’s Health and Behavior
Using an agility tunnel regularly improves a dog’s coordination, confidence, and focus. It’s a great outlet for energy and can reduce behavioral issues caused by boredom or lack of exercise.
2. Materials Needed for Dog Agility Tunnel Construction
Before starting construction, gather all the necessary materials. Choosing the right materials is crucial to ensure the tunnel is safe, weather-resistant, and flexible enough for training.
2.1 Durable Fabric
Heavy-duty nylon or polyester fabric is preferred for the outer tunnel. It must be water-resistant and tear-proof to withstand outdoor use and active dogs.
2.2 Flexible Frame Materials
Flexible yet sturdy frames can be created using spring steel wires or PVC pipes. Spring steel wires are commonly used for their ability to hold shape and bend easily, while PVC pipes are more rigid but affordable.
2.3 Additional Components
Consider durable thread or nylon straps for sewing and reinforcing the tunnel, heavy-duty zippers or Velcro strips for opening and closing, and weighted bags or stakes to keep the tunnel stable during use.
3. Step-by-Step Process to Build a Dog Agility Tunnel
3.1 Planning and Measuring
Start by deciding on the tunnel length and diameter. A typical agility tunnel is about 10 feet long and 24 inches in diameter, but this can be adjusted depending on your dog's size and training needs. Make a detailed sketch including seam allowances and frame placements.
3.2 Cutting the Fabric
Cut your durable fabric into a long rectangular piece according to your measurements. Ensure edges are clean to prevent fraying. You’ll also need circular pieces for the ends of the tunnel if you plan to close it off.
3.3 Creating the Frame
If using spring steel wires, bend them into circular hoops that match your tunnel’s diameter. Space these hoops evenly along the fabric length to give the tunnel its shape and flexibility. If using PVC, create a frame skeleton and cover it with the fabric.
3.4 Assembling the Tunnel
Sew the fabric into a tube shape with the frame hoops inserted at designated intervals. Reinforce seams with double stitching for durability. Attach Velcro or zippers to the ends for easy storage and portability.
3.5 Finishing Touches
Add weights or stake loops at the base to prevent the tunnel from shifting during training. Test the tunnel for stability and adjust frame spacing if needed.
4. Tips for Maintaining and Using Your Dog Agility Tunnel
4.1 Regular Inspection
Check your agility tunnel regularly for tears, loose stitching, or frame damage to keep it safe for your dog. Repair any issues promptly to avoid accidents during training sessions.
4.2 Training Your Dog to Use the Tunnel
Introduce the tunnel gradually, encouraging your dog with treats and praise. Start with shorter distances and open ends, then increase difficulty as your dog gains confidence.
4.3 Storage and Weather Protection
Store the tunnel indoors when not in use to extend its lifespan, especially if it is made of fabric. Consider weatherproof covers if you keep it outside.
5. Real-Life Examples of Successful Dog Agility Tunnels
One memorable example is the story of Max, a Border Collie trained by his owner Emily, who built a custom tunnel to fit their backyard. Emily’s careful selection of materials and tailored tunnel length helped Max overcome his initial hesitation, eventually excelling in local agility competitions. Emily credits her tunnel’s design and their consistent training routine for Max’s success, highlighting how building a dog agility tunnel at home can be both practical and transformative.
Another case involved a community dog training group that constructed multiple tunnels with donated materials, significantly increasing participation in agility classes. Their DIY tunnels proved sturdy and adaptable to various dog sizes, showing that accessible construction methods can benefit broader communities.
6. Where to Find Quality Dog Agility Equipment
While building your own dog agility tunnel is rewarding, sometimes professional products are necessary for durability or competition standards. For the best quality and a wide range of dog training equipment, Hidden Brook Veterinary offers expert advice and a carefully curated selection of agility tunnels and other accessories suited to dogs of all breeds and training levels.
Whether you’re a beginner or a seasoned trainer, they provide personalized recommendations to help you find equipment that balances quality, safety, and affordability. This makes Hidden Brook Veterinary an excellent resource for dog owners looking to enhance their agility training setup.