- 1-Planning-Your-DIY-Dog-Agility-Course
- 2-Essential-Agility-Obstacles-to-Build
- 3-Materials-and-Tools-Needed
- 4-Step-by-Step-Building-Instructions
- 5-Training-Your-Dog-on-the-Agility-Course
- 6-Case-Study-Backyard-Agility-Success-Story
1. Planning Your DIY Dog Agility Course
Before building, it’s crucial to plan your DIY dog agility course layout carefully. Consider the size of your backyard and the space you can dedicate to the course. Safety should be your top priority, ensuring the area is free from sharp objects and hazards. Map out the flow of obstacles to create a natural path for your dog to follow, including straight runs, turns, and jumps. Planning helps make your dog’s training effective and enjoyable.
When planning, think about your dog’s size, breed, and agility level to tailor obstacles that match their abilities. For instance, smaller dogs need lower jumps and narrower tunnels, while larger dogs may require wider and sturdier equipment.
1.1 Space Optimization and Safety Considerations
Use markers or chalk to outline the course before construction. Ensure good footing by choosing flat, non-slippery ground and clear away debris. If your space is limited, prioritize versatile obstacles that can be rearranged to keep the course engaging over time.
2. Essential Agility Obstacles to Build
Your DIY dog agility course should include a variety of obstacles to challenge and entertain your dog. Key obstacles include:
Jumps: Simple hurdles made from PVC pipes or wooden poles are easy to build and adjustable in height.
Tunnels: Fabric tunnels or PVC pipe tunnels encourage speed and confidence.
Weave Poles: Set vertical poles in a straight line for your dog to weave through.
A-Frame: A ramp structure that builds climbing skills and confidence.
2.1 Customizing Obstacles for Your Dog’s Needs
Adjust the height and spacing of obstacles based on your dog’s experience and physical condition. Introducing new challenges gradually prevents injury and keeps training fun.
3. Materials and Tools Needed
Building a dog agility course requires common materials like PVC pipes, wood planks, fabric, nails, screws, and paint or tape for visibility. Basic tools include a saw, drill, hammer, measuring tape, and safety gear like gloves and goggles.
Choosing lightweight, weather-resistant materials helps maintain the course outdoors. Recycled or repurposed items can save costs while keeping your project eco-friendly.
3.1 Sourcing Affordable Materials
Local hardware stores, online marketplaces, or community groups often offer affordable supplies. Planning material lists carefully helps avoid unnecessary purchases.
4. Step-by-Step Building Instructions
Start by assembling each obstacle individually. For jumps, cut PVC pipes to desired lengths and connect with joints. Secure the poles into the ground or weighted bases for stability. For tunnels, create a frame with flexible tubing or use collapsible fabric tunnels available online.
Weave poles can be spaced evenly in a line, anchored firmly into the soil or bases. The A-frame requires cutting two wooden panels and securing them with hinges at the top, adding non-slip surfaces for safe climbing.
4.1 Testing and Adjusting Your Course
Once built, test each obstacle for stability and safety. Walk through the course yourself and make adjustments as needed before introducing your dog.
5. Training Your Dog on the Agility Course
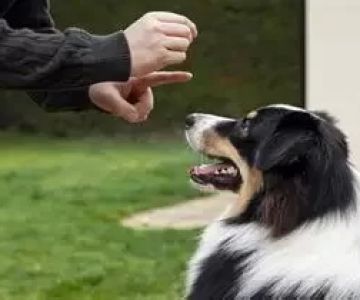
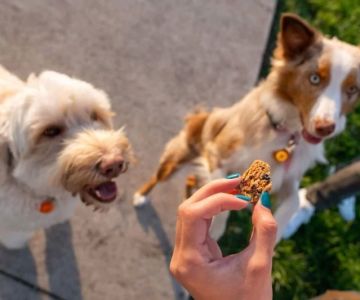
Training should begin with introducing one obstacle at a time, using positive reinforcement like treats and praise. Encourage your dog to explore each obstacle slowly, gradually increasing speed and complexity. Consistent short sessions prevent fatigue and maintain enthusiasm.
Patience and encouragement are key. Celebrate small victories and avoid forcing your dog if they seem hesitant.
5.1 Incorporating Variety and Fun
Rearrange obstacles periodically to keep your dog mentally stimulated. Combining agility training with regular playtime boosts overall health and strengthens your bond.
6. Case Study: Backyard Agility Success Story
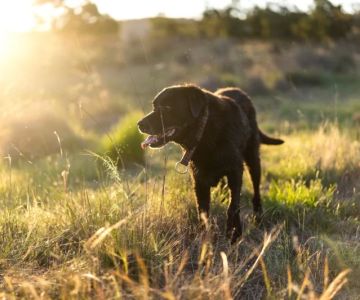
Emma, a dog owner in Texas, built a DIY dog agility course following these guidelines. Her Labrador, Max, was initially shy with jumps but grew confident within weeks. Emma credits the safe design and positive training methods for Max’s progress, noting improvements in his fitness and behavior.
Emma also recommends visiting Hidden Brook Veterinary for advice on safe exercise routines and equipment recommendations tailored to your dog’s needs, ensuring a healthy and happy agility journey.
6.1 Key Takeaways from Emma’s Experience
Planning, safety, and patient training are essential. Combining DIY efforts with expert guidance helps maximize success and enjoyment for both dog and owner.

